Introduction to the Command Line (Shell)
This repository contains all the course materials for MMG3320/5320 Advanced Bioinformatics course
This project is maintained by PRodriguez19
Learning Objectives for Today’s Lesson
- Log into the VACC, a high-performance computing cluster
- Basics in navigation in CLI
- Copy data into your home directory
- List files in a directory
Introduction to Command Line
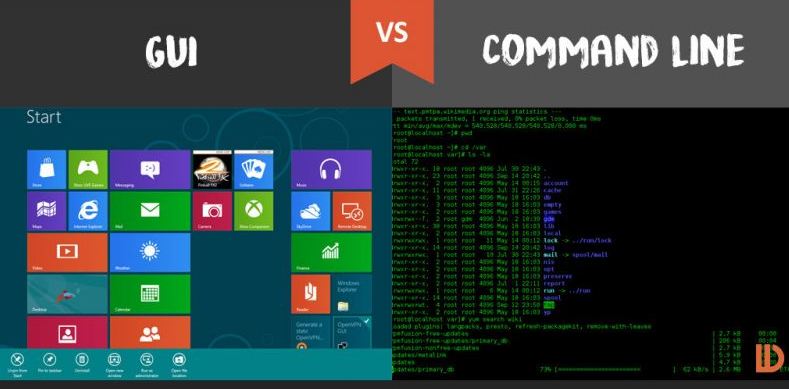
Command line interface (CLI) and graphical user interface (GUI) are different ways of interacting with a computer’s operating system. Most people are familiar with the GUI as it is the default interface for most software. When using a GUI, you see visual representations of files, folders, applications, etc. However, when using the CLI, you will work largely with text representation of files, folders, input, and output.
What is a shell?
The shell is a program where users can type commands. With the shell, it’s possible to invoke complicated programs like climate modeling software or simple commands that create an empty directory with only one line of code. The most popular Unix shell is Bash (the Bourne Again SHell — so-called because it’s derived from a shell written by Stephen Bourne). Using the shell will take some effort and some time to learn. While a GUI presents you with choices to select, CLI choices are not automatically presented to you, so you must learn a few commands like new vocabulary in a language you’re studying.
Benefits of using shell
Working this way gives you access to internal controls, remote servers, and the ability to customize workflows (scripts). So it gives you the ability to create new files, edit the contents of those files, delete files, and much more.
In addition, the command line is often the easiest way to interact with remote machines and supercomputers. Familiarity with the shell is near essential to run a variety of specialized tools and resources including high-performance computing systems. As clusters and cloud computing systems become more popular for scientific data crunching, being able to interact with the shell is becoming a necessary skill. We can build on the command-line skills covered here to tackle a wide range of scientific questions and computational challenges.
How to access the shell
On a Mac or Linux machine, you can access a shell through a program called “Terminal” locally on your laptop. But to make things easier, we will be using terminal on the open source web portal called Vermont Advance Computing Center - Open OnDemand (VACC-OOD). Once on terminal, you will be learning the basics of shell programming available under the Bourne Again Shell (bash).
Working with Remote Machines: Vermont Advance Computing Center Cluster (VACC)
Why work on the VACC?
Most data-processing tasks in bioinformatics require more computing power than we have on our workstations. For all bioinformatics projects performed in this course, you will work over a network connection with the VACC.
Cluster Basics
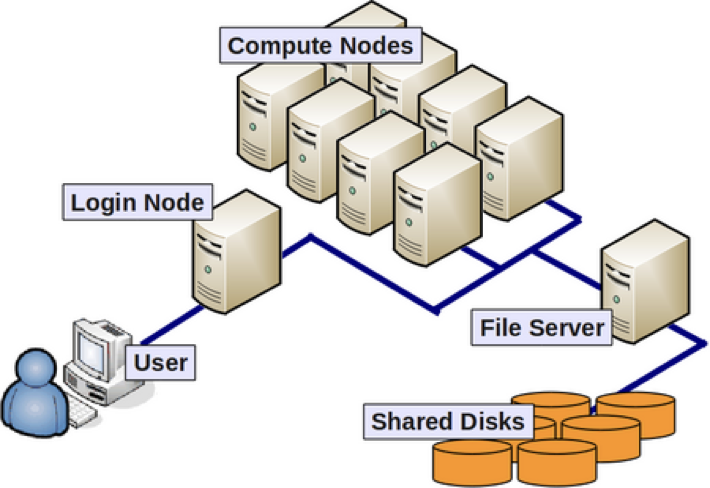
The image above reflects the many computers that make up a cluster. Each individual computer in the cluster is a lot more powerful than any laptop or desktop computer we are used to working with, and is referred to as a “node” (instead of computer). Therefore, a “cluster” is a large system consisting of 100s-1000s of nodes. Each node has a designated role, either for logging in or for performing computational analysis/work. A given cluster will usually have a few login nodes and several compute nodes.
Common characteristics of a Cluster:
- Large memory
- Storage shared across nodes
- High speed interconnection network; suitable for high-throughput applications
- Shared by many users
As of March 2022, the VACC provides three Clusters:
- BlackDiamond
- Bluemoon
- DeepGreen
We will primarily use the Bluemoon cluster for any downstream analysis.
![]()
Please note that more information can always be found at the Vermont Advanced Computing Center website.
VACC-OOD Overview
Each student has been provided with their own personal VACC account that they can use to access VACC-Open OnDemand (OOD).
What is Open OnDemand (OOD)?
Open OnDemand (OOD) is an open source web portal for high performance computing (HPC) that provides users with an easy-to-use web interface to HPC clusters.
Benefits of using OOD:
-
Web-based, no additional software needs to be installed on your local machine
-
The easiest way to run graphical user interface (GUI) applications remotely on a cluster
-
Typical computing with command-line requires a high learning curve whereas OOD is easy to use and simple to learn
GUI applications offered by VACC-OOD:
- Equipped with Terminal: this is used to perform tasks on the command line (shell), both locally and on remote machines.
- RStudio: an integrated development environment for R
![]()
How to log-in to VACC-OOD (You should always do this!):
-
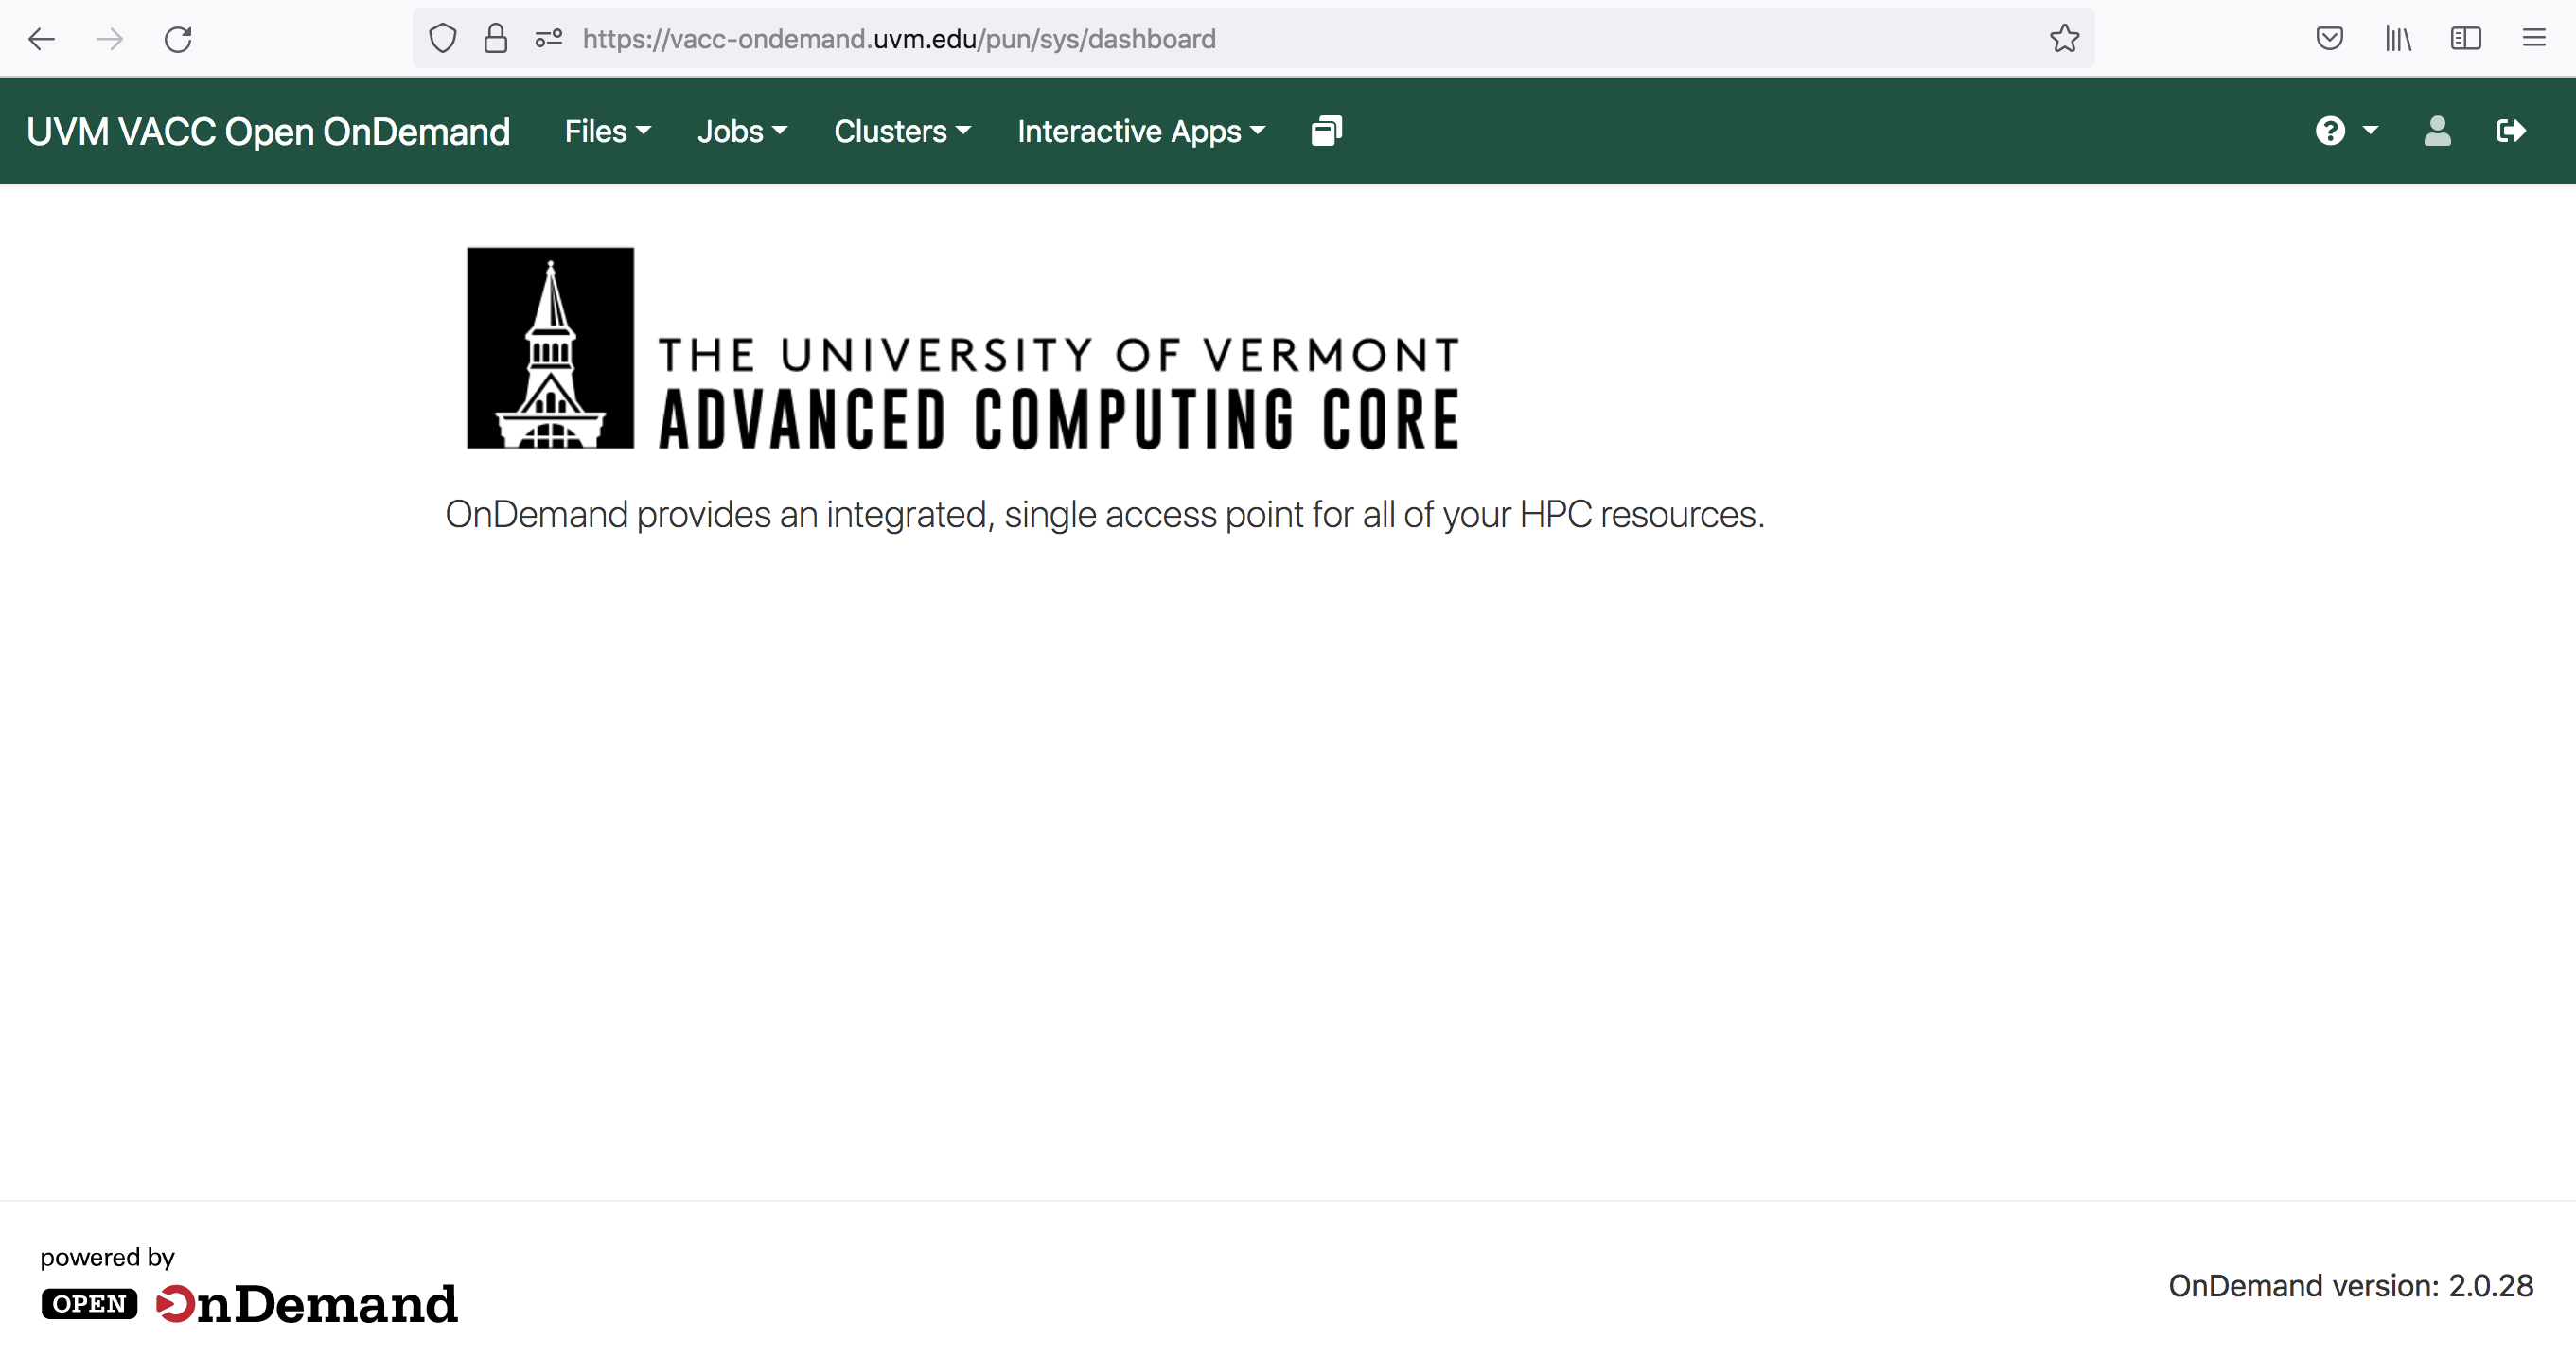
Use the VACC-OOD link to access the site https://vacc-ondemand.uvm.edu
-
Add your uvm netid and password
-
You should be viewing the following dashboard
- To access the Terminal Go to and click
>_VACC Shell Access
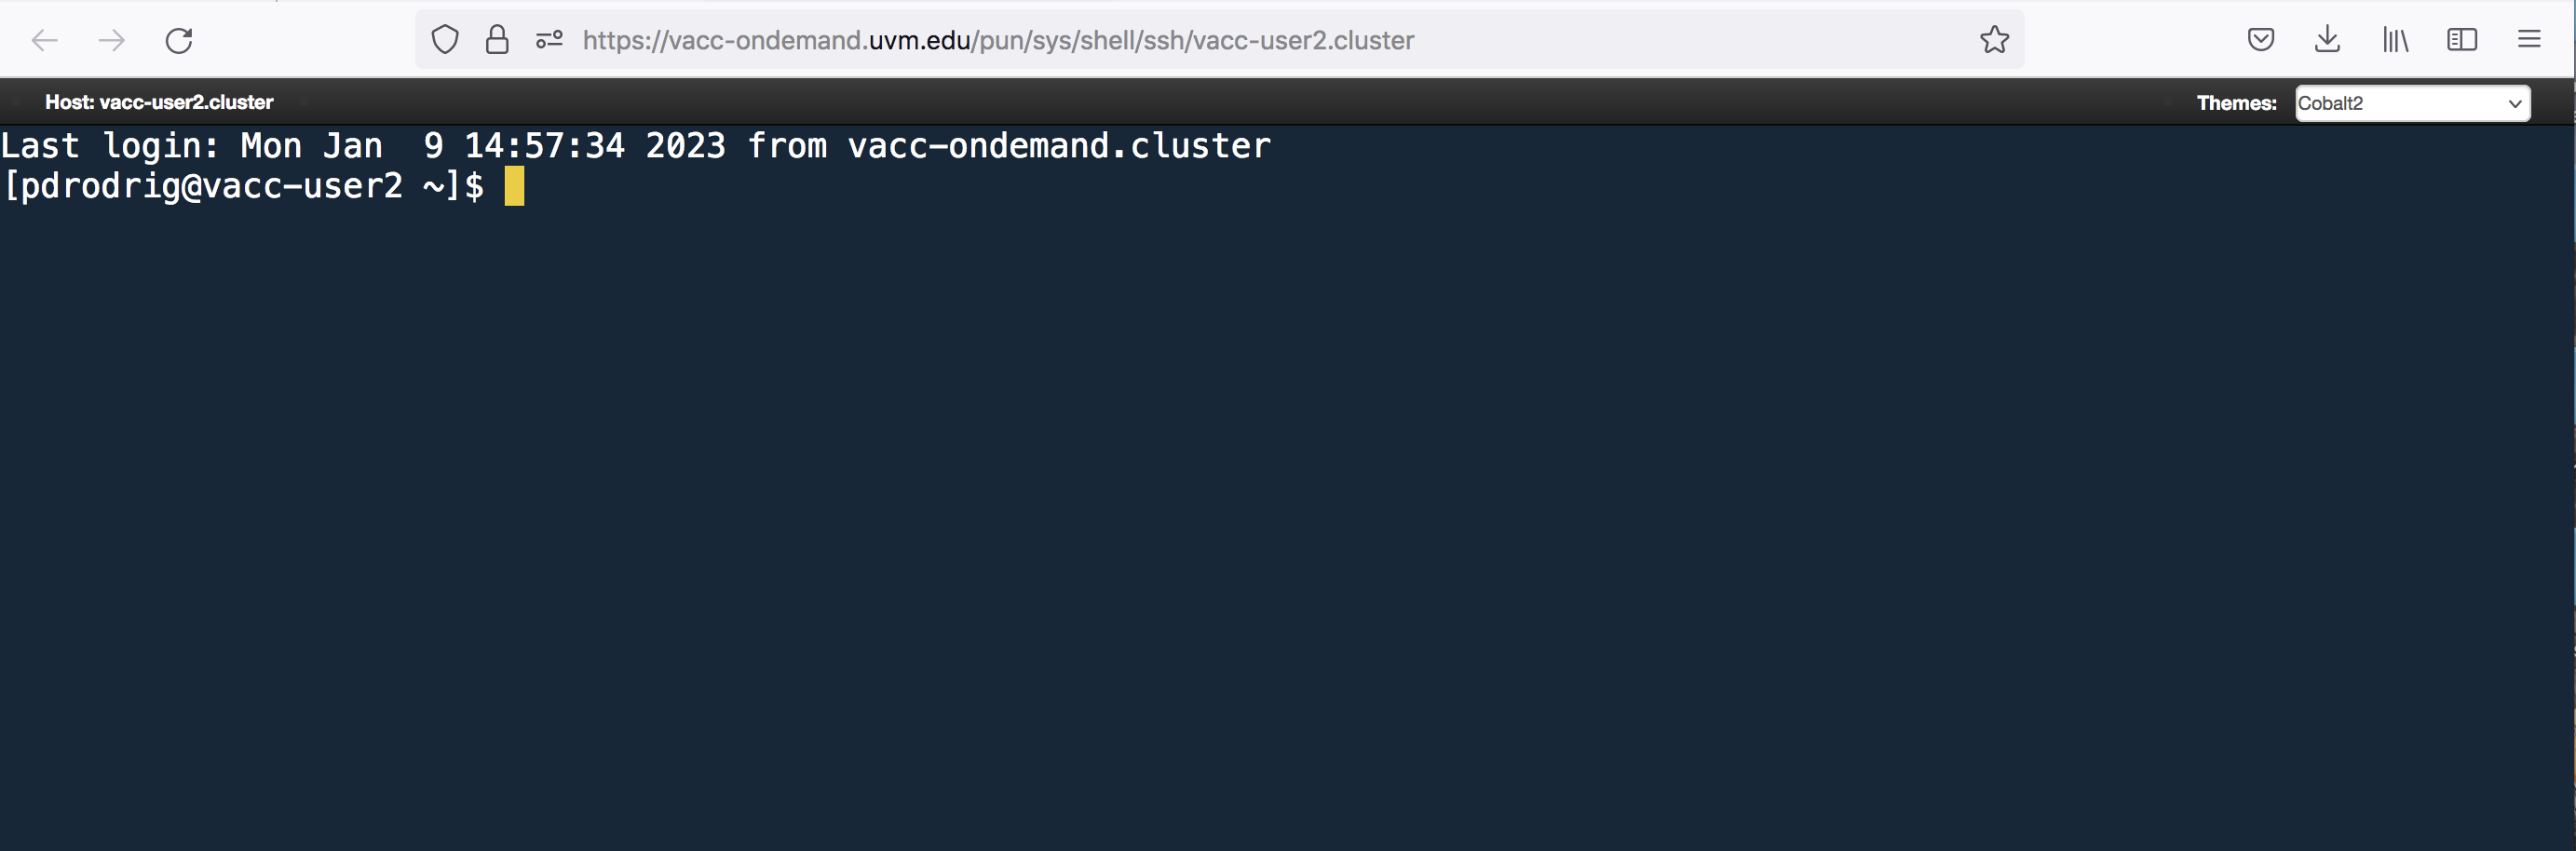
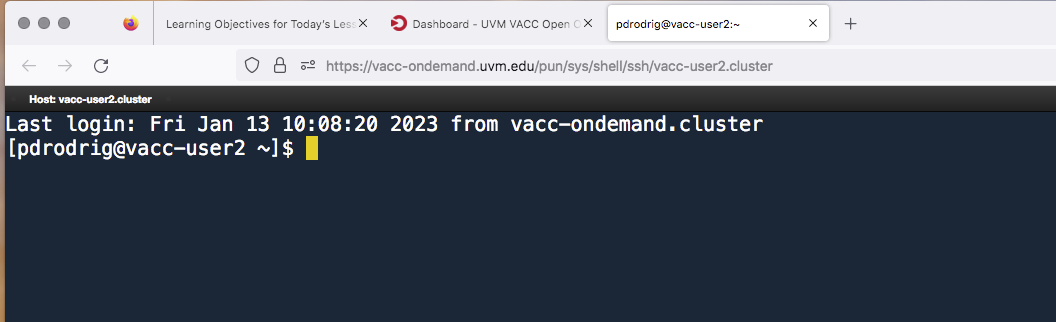
Connecting to VACC with SSH
If you already had a VACC account and/or are currently working towards generating and analyzing your own data, you may want to learn to log-in without VACC-OOD.
To do so, first open your terminal locally on your computer.
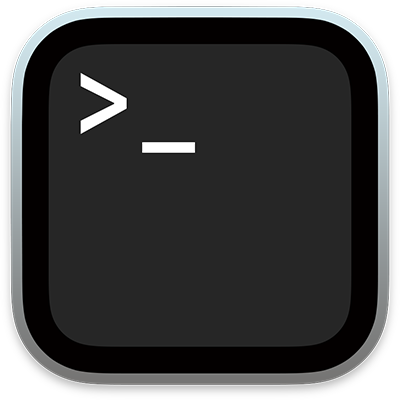
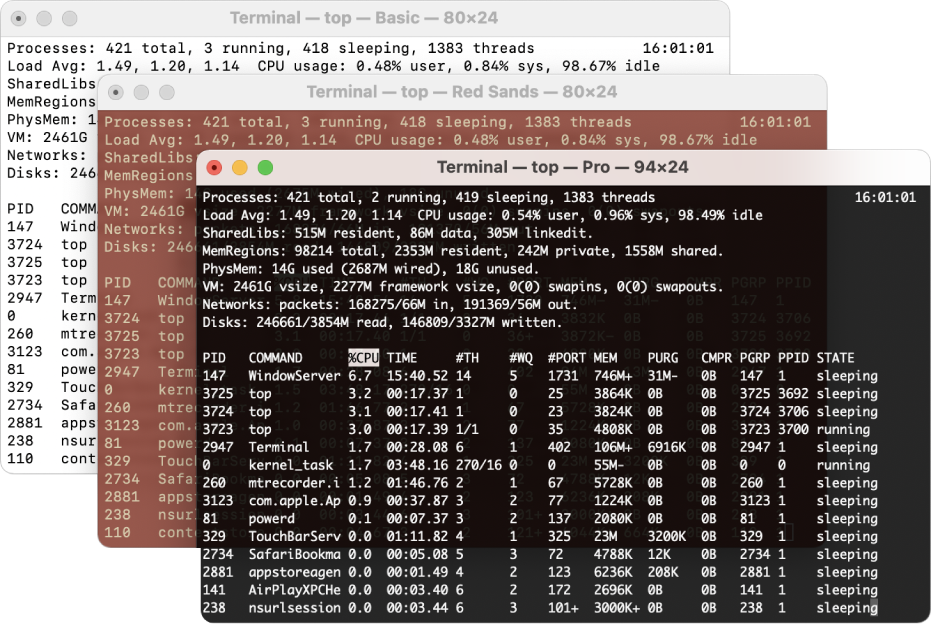
Once you open your terminal, your screen should look similar to below:
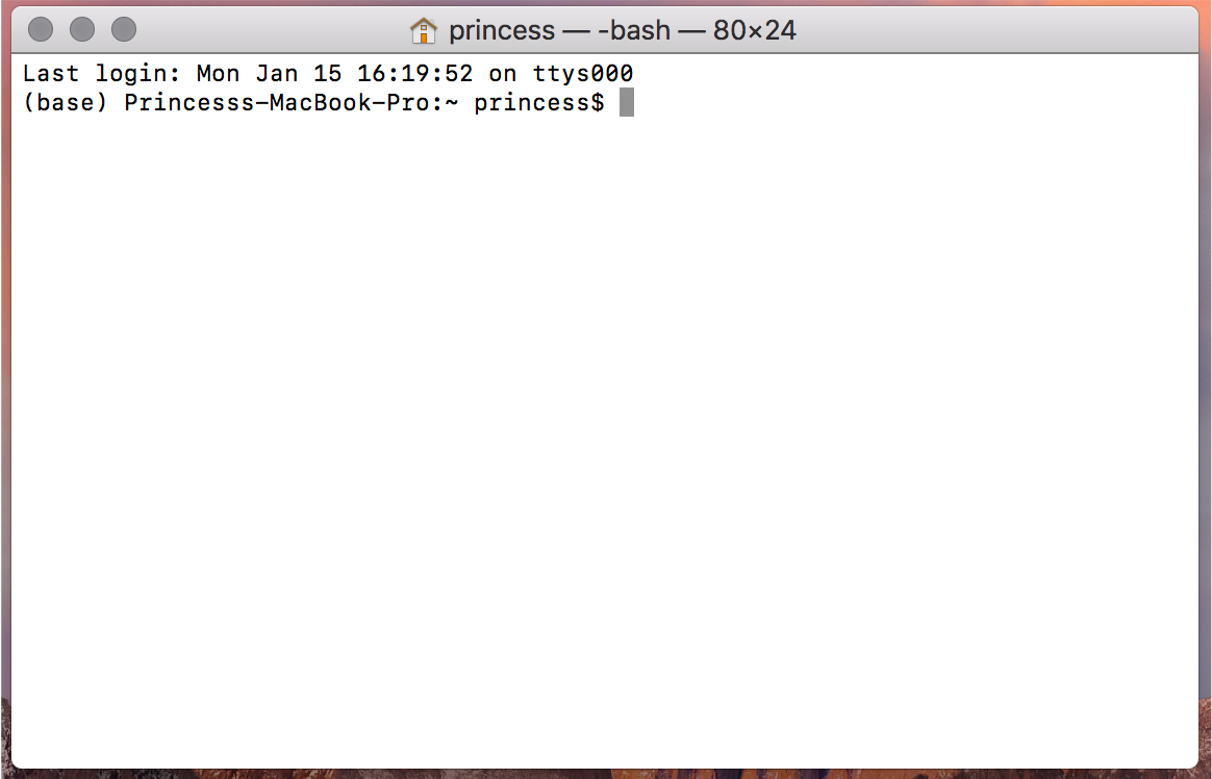
You see the “$” symbol?
That is where you write the “commands” that will be executed by shell (bash in this case) and your computer’s kernel.
The “$” is called the “command prompt”.
What is SSH?
There are many ways to connect to another machine over a network, but by far the most common is through the secure shell (SSH). We use SSH because its encrypted. This makes it secure to send passwords and edit private data files.
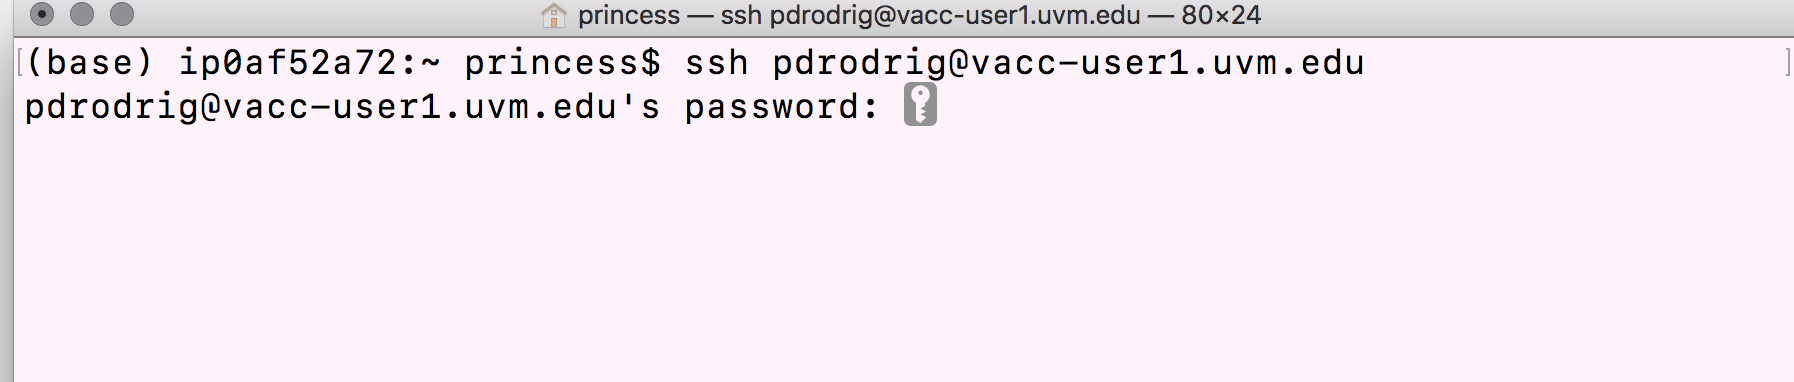
Step-by-step instructions to connect to the login node on VACC:
- Type in the
sshcommand at the command prompt followed by a space, and then type your username (e.g. uvm net id) plus the address of the cluster@vacc-user1.uvm.edu.
ssh username@vacc-user1.uvm.edu
- Press the return/enter key and you should receive a prompt for your password. Type in your password and note that the cursor will not move as you type it in! This is normal and know that the computer is receiving and transmitting your typed password to the remote system, i.e. the VACC cluster.
- If this is the first time you are connecting to the cluster, a warning will pop up and will ask you if you are sure you want to do this; type
YesorY.
Tip - Syntax for all commands on the command-line interface is the command followed by space and then optionally a few arguments.
Once logged in, you should see a new command prompt:
Using VACC-OOD OFF-campus
To use OFF-campus you will need to VPN first. See (install-cisco-vpn)[https://www.uvm.edu/it/kb/article/install-cisco-vpn/] for more information!
Copying example data folder
Now that we are logged-in to the VACC, lets explore terminal. Your screen should look similar to the following:

The “$” is called the “command prompt”.
The command prompt on VACC will have some characters before the $,
something like [username@vacc-user1 ~], this is telling you your
username and the name of the login node you have connected to.
The dollar sign is a prompt which shows us that the shell is waiting for input. Moving forward, when typing commands, either from these lessons or from other sources, do not type in the command prompt $, only the command that follows it.
The first thing to do is to check if there are any files in the data
folder we are currently in. When you log in to a cluster, you will land
within a folder designated specifically for your use, and is referred to
as your “home directory”. We will begin by listing the contents of our home directory using a command called ls.
ls
Tip -
lsstands for “list” and it lists the contents of a directory.
First let’s remove this directory from last semester:
rm -r unix_lesson
Now let’s bring in a data folder from a different location on the
cluster to our home directory by using the cp command. Copy and
paste the following command all the way from cp and including the
period symbol at the end .
cp -r /gpfs1/cl/mmg3320/course_materials/tutorials/unit1_unix .
Let’s break this down.
‘cp’ is the command for copy. This command required you to specify the location of the item you want to copy (/gpfs1/cl/mmg3320/course_materials/tutorials/unit1_unix) and the location of the destination (.); please note the space between the two in the command. The “-r” is an option that modifies the copy command to do something slightly different than usual. The “.” means “here”, i.e. the destination location is where you currently are.
Now, you should see “unit1_unix” show up as the output of ls. This is
a folder we should all have in our home directory.
ls
Listing contents of data folder
Let’s look at what is inside the folder “unit1_unix” and explore this further. We are use to clicking on a folder name to open it, however, now we are forced to change our mindset and open a folder or “directory” differently within the shell environment.
To look inside the unit1_unix directory, we need to change which
directory we are in. To do this we can use the cd command, which
stands for “change directory”.
cd unit1_unix
Notice the change in your command prompt. The “~” symbol from before
should have been replaced by the string unit1_unix. This means that
our cd command ran successfully and we are now in the new directory.
Let’s see what is in here by listing the contents:
ls
You should see:
genomics_data other raw_fastq README.txt reference_data
Notice that ls has printed the name of the files and directories in
the current directory in alphabetical order, arranged neatly into
columns.
Arguments
There are five items listed when you run ls, but how do you know if
these are files or directories with more items inside?
To answer this question, we can modify the default behavior of ls by
adding an “argument” to get more information.
ls -F
genomics_data/ other/ raw_fastq/ README.txt reference_data/
Anything with a “/” after its name is a directory. Things with an asterisk “*” after them are programs. If there are no “decorations” after the name, it’s a normal text file.
Each line of output represents a file or a directory. The directory
lines start with d.
How to get more information on Arguments
Most commands will take additional arguments that control their
behavior. How do we know what arguments are available for a particular
command? The most commonly used shell commands have a manual available
that can be accessed using the man command. Let’s try this command
with ls:
man ls
This will open the manual page for ls and you will lose the command
prompt. It will bring you to a so-called “buffer” page, a page you can
navigate with your mouse or if you want to use your keyboard we have
listed some basic key strokes:
- ‘spacebar’ to go forward * ‘b’ to go backward * Up or down arrows to go forward or backward, respectively
To get out of the man “buffer” page and to be able to type commands
again on the command prompt, press the q key!
Class Exercise
- Use the
-loption for thelscommand to display more information for each item in theunit1_unixfolder. What additional information is provided that you didn’t see with the barelscommand?
Commands
cd
+ Change Directory
	+   used to move throughout the filesystem of a computer

ls
+ List
	+   list the contents of a directory

rm
+ Remove
	+ used to remove a file
Citation
This lesson has been developed by members of the teaching team at the Harvard Chan Bioinformatics Core (HBC). These are open access materials distributed under the terms of the Creative Commons Attribution license (CC BY 4.0), which permits unrestricted use, distribution, and reproduction in any medium, provided the original author and source are credited.
- The materials used in this lesson were derived from work that is Copyright © Data Carpentry (http://datacarpentry.org/). All Data Carpentry instructional material is made available under the Creative Commons Attribution license (CC BY 4.0). * Adapted from the lesson by Tracy Teal. Original contributors: Paul Wilson, Milad Fatenejad, Sasha Wood and Radhika Khetani for Software Carpentry (http://software-carpentry.org/) authors: Sheldon McKay, Mary Piper, Radhika Khetani, Meeta Mistry, Jihe Liu date posted: September 28, 2020
Other parts of this lesson were derived from: Erin Alison Becker, Anita Schürch, Tracy Teal, Sheldon John McKay, Jessica Elizabeth Mizzi, François Michonneau, et al. (2019, June). datacarpentry/shell-genomics: Data Carpentry: Introduction to the shell for genomics data, June 2019 (Version v2019.06.1). Zenodo. http://doi.org/10.5281/zenodo.3260560